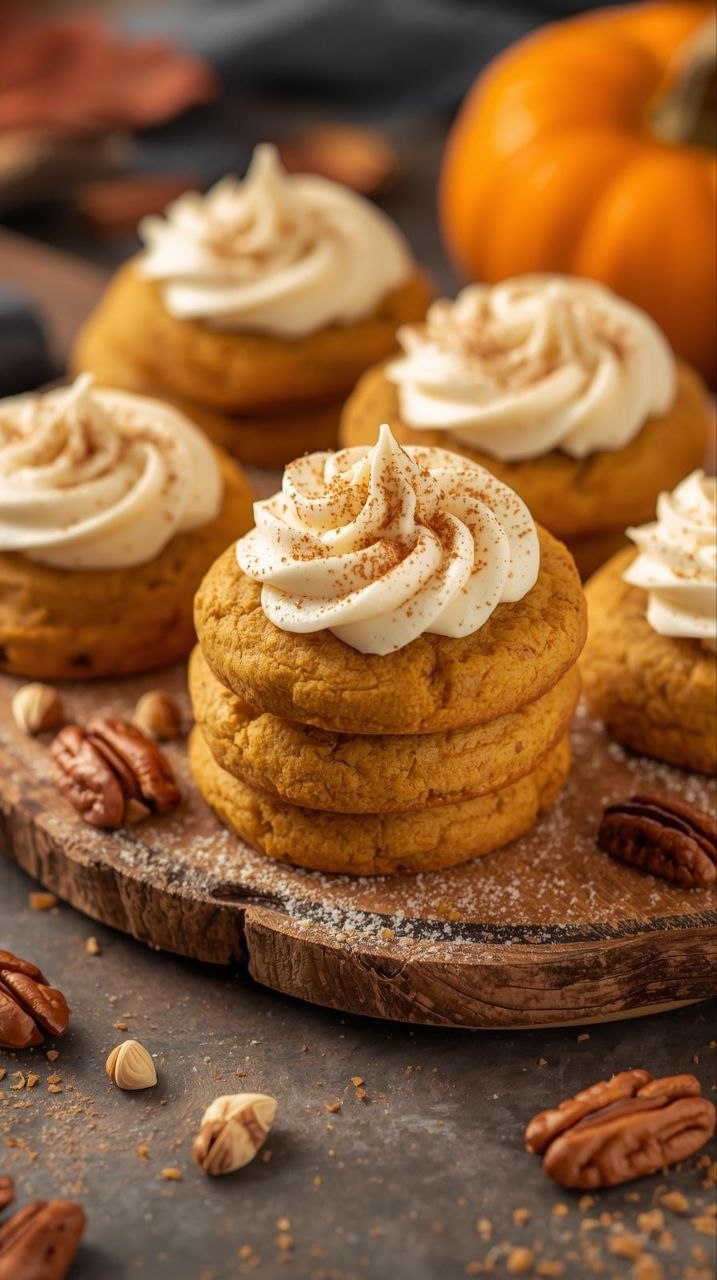
Halloween Brownies: 3 Effortless Fixes for Grey, Sharp-Air, Cool October Evenings
The Comfort Intro (Short & Sweet)
These Halloween brownies are a quiet staple in our house once the days shorten and the air turns sharp. I make them most years, usually on a grey October afternoon when the kids are home early and the weather has already decided winter is coming. They’re not fancy brownies and they’re not trying to be. They’re solid, chocolatey, and comforting — the kind you cut into generous squares and pack into lunch containers the next day.
They’ve become our go-to hearty family dessert for Halloween week because they’re affordable, dependable, and easy to make with pantry staples. When the wind picks up and the house feels a bit chilly, these brownies do their job quietly and well.
Why These Halloween Brownies Work
I’ve made plenty of desserts over the years, but these Halloween brownies stick around for a few very practical reasons.
First, they’re budget-friendly. Chocolate baking bars, cocoa powder, butter, sugar, eggs, flour — nothing unusual and nothing seasonal that spikes in price. When grocery bills climb in the fall, it matters. On a good week, the cost works out to about $0.45–$0.55 per serving, depending on where you shop and whether you buy chocolate in bulk.
Second, they’re filling. These brownies aren’t thin or cakey. They’ve got weight to them. One square with a glass of milk is enough after supper, and that matters when you’re feeding a family and trying not to stretch snacks all evening.
Third, they reheat and hold beautifully. I’ve learned over time that a brownie that tastes better the next day is worth keeping. These firm up slightly overnight, making them easier to pack for lunches or slice neatly for a bake sale tray.
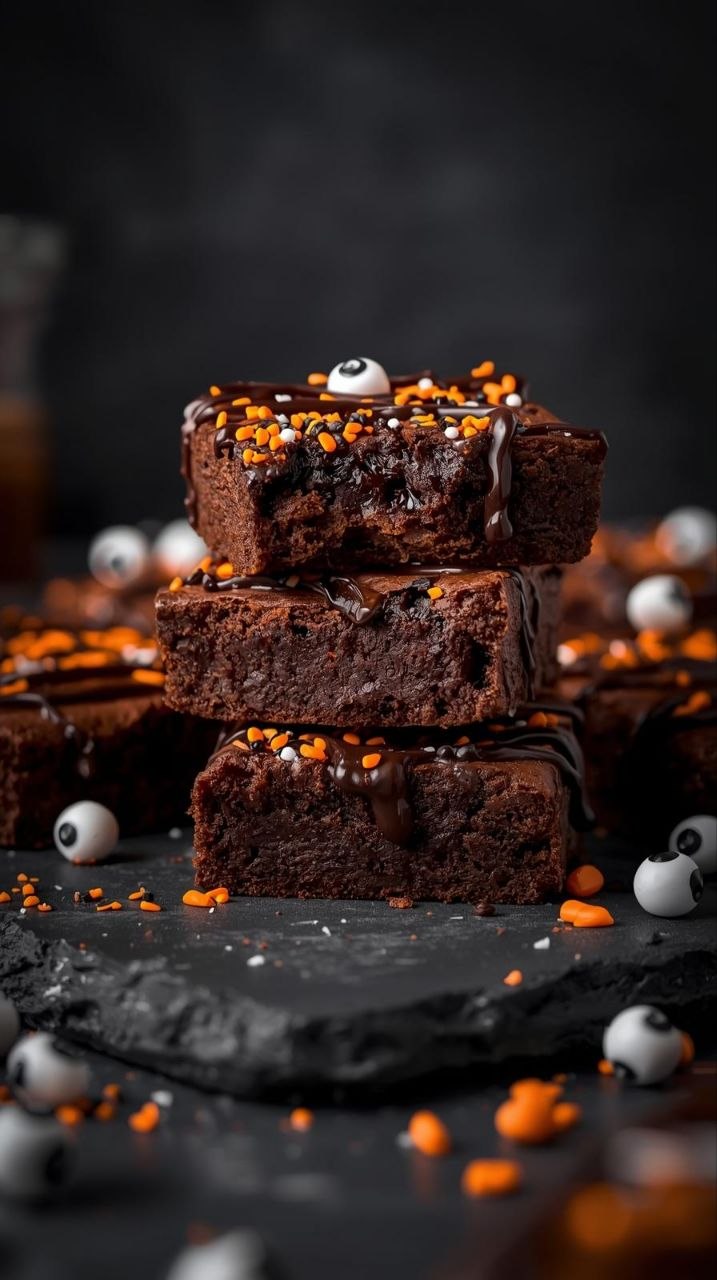
And finally, they’re flexible. These Halloween brownies can be plain, dressed up with a swirl of icing, or scattered with whatever seasonal bits you’ve got on hand — candy pieces, chocolate chips, or even a handful of chopped nuts if that’s what’s in the freezer.
They’re dependable comfort food, and during long autumn weeks, that counts.
Pantry & Fridge Reality (Ingredients)
I like to talk through ingredients the same way I’d talk to a neighbour leaning on the counter — no assumptions, no pressure.
For these Halloween brownies, here’s what usually comes out of my cupboards:
- Butter
I use salted butter because that’s what we keep. If you’ve only got unsalted, just add a pinch more salt. Butter prices fluctuate, so I buy extra when it’s on sale and freeze it.
Cost note: About $1.00–$1.25 per batch. - Granulated sugar
Plain white sugar works best here. Brown sugar changes the texture too much for my liking.
Cost note: Pennies per batch. - Eggs
Large eggs, fridge-cold is fine. Eggs help with structure, so don’t skimp.
Cost note: About $0.60–$0.80 total. - Cocoa powder
Regular unsweetened cocoa powder, nothing fancy. I buy a big tin and it lasts months.
Cost note: About $0.40 per batch. - All-purpose flour
Just regular flour. No need to sift unless it’s clumpy.
Cost note: Minimal. - Vanilla extract
Optional, but nice. I’ve skipped it before when I ran out.
Cost note: About $0.15. - Salt
A small amount brings the chocolate forward.
Optional add-ins:
- Chocolate chips (whatever’s on sale)
- Chopped Halloween candy
- Sprinkles or icing for the top
If the store is out of cocoa powder, I’ve made these with melted chocolate instead. It costs a bit more, but it works in a pinch. And if butter prices are high, half butter and half margarine still gets you a decent pan.
The Cooking Journey (Experience-Based, Step by Step)
I’ve made these Halloween brownies often enough that I don’t rush them anymore. Brownies like a steady hand and a bit of patience.
Getting Started
First, I turn the oven on to 350°F (175°C). I’ve learned the hard way that brownies don’t like a cold oven. While it heats, I line a square baking pan with parchment, leaving a bit hanging over the sides so I can lift the brownies out later. This saves a lot of scraping.
Next, I melt the butter slowly. I usually do this in a saucepan over low heat, because butter scorches faster than people think. You want it melted, not browned. If it smells nutty, you’ve gone too far. I’ve done that more than once, and while browned butter has its place, it’s not here.
Once the butter is melted, I take it off the heat and stir in the sugar. The mixture looks grainy at first, and that’s normal. I let it sit for a minute or two so it cools slightly — adding eggs to hot butter is a good way to end up with scrambled bits, which I’ve learned the hard way.
Building the Batter
After that, I add the eggs one at a time, stirring well after each. The batter starts to thicken and shine. That’s when I know it’s behaving.
Next comes the cocoa powder, salt, and vanilla. I stir gently but thoroughly, scraping the sides of the pot. Cocoa powder has a habit of hiding in corners, and nobody wants a bitter pocket in the finished brownies.
Then I add the flour. I sprinkle it over the top and fold it in slowly. This is where people often overmix. I stop as soon as the flour disappears. The batter should be thick, smooth, and heavy — it should fall off the spoon slowly, not pour.
If I’m adding chocolate chips or chopped candy, I fold them in now. I keep it modest. Too many add-ins make the brownies crumbly and hard to cut.
Baking
I spread the batter evenly into the pan, smoothing the top with the back of a spoon. It doesn’t have to be perfect. Once it’s in the oven, the house starts to smell like cocoa and butter within ten minutes — warm and reassuring, especially when it’s cold outside.
I bake the brownies on the middle rack. Around the 20-minute mark, I check them. The edges should look set, but the centre should still be soft. A toothpick inserted in the middle should come out with a few moist crumbs, not wet batter and not clean.
This is where I’ve made mistakes over the years.
Real-Life Mistakes I’ve Made (And How to Fix Them)
- Overbaking
I once left them in “just five more minutes” while answering the door. They were dry and crumbly.
Fix: Pull them early. Brownies continue cooking as they cool. - Scorching the butter
Rushing the melt leads to burnt bits.
Fix: Low heat and patience. Or melt in the microwave in short bursts. - Overmixing the flour
This makes tough brownies.
Fix: Fold gently and stop early. - Too many candy add-ins
Fun, but structurally risky.
Fix: Keep it under one cup total. - Cutting too soon
Warm brownies fall apart.
Fix: Let them cool completely, even if it’s tempting. - Skipping parchment
Regret every time.
Fix: Always line the pan.
Feeding the Family & Leftover Logic
In our house, I cut these Halloween brownies into nine or twelve squares, depending on how generous I’m feeling. Served warm with milk, they’re more than enough after supper.
The next day, they’re even better. The texture settles, the flavour deepens, and they slice cleanly. I wrap individual squares and tuck them into lunch bags or keep them in a sealed container on the counter for two days, then move them to the fridge.
To reheat, ten seconds in the microwave does the trick. Too long and they dry out.
Leftovers don’t last long here, but if they do, I’ve chopped them up and stirred them into vanilla yogurt or layered them into a quick trifle with whipped cream. Waste not.
Variations for Different Days
The Busy Day Version
- Use a single bowl.
- Skip add-ins.
- Dust with icing sugar and call it done.
The Sunday Version
- Add a simple chocolate icing.
- Let them cool fully before cutting.
- Serve with tea in the afternoon.
The Freezer-Friendly Version
- Bake, cool, and cut.
- Freeze individually wrapped squares.
- Thaw overnight in the fridge.
The Nut-Free School Safe Version
- Skip all candy add-ins.
- Stick to plain brownies with sprinkles on top.
The Cold-Weather Extra Version
- Serve warm with custard or vanilla ice cream.
- Best on a windy October night.
Common Questions (Neighbourly FAQ)
Can I make these ahead?
Yes. They’re better the next day.
Can I freeze them?
Absolutely. They freeze well for up to three months.
Can I reduce the sugar?
A little, yes. But too much less affects texture.
Can I double the recipe?
Yes, use a 9×13 pan and add a few minutes.
Are these fudgy or cakey?
Fudgy, but sturdy.
Can I use margarine?
Yes. The flavour changes slightly, but they still work.
Why These Halloween Brownies Keep Earning Their Place
I come back to these Halloween brownies every year because they’re reliable. They don’t ask much of me, and they give a lot back. When October feels long and busy, it helps to have a recipe you trust.
These brownies aren’t about impressing anyone. They’re about warmth, comfort, and knowing that you can turn a few simple ingredients into something that makes the house feel settled.
That kind of confidence builds over time, one pan at a time.
🧾 Recipe Card: Halloween Brownies
Prep Time: 15 minutes
Cook Time: 22–25 minutes
Total Time: 40 minutes
Servings: 9–12 squares
Calories: ~260 per serving (varies with add-ins)
Ingredients
- ½ cup salted butter ($1.00)
- 1 cup granulated sugar ($0.25)
- 2 large eggs ($0.70)
- ⅓ cup unsweetened cocoa powder ($0.40)
- ½ cup all-purpose flour ($0.10)
- 1 tsp vanilla extract ($0.15)
- ¼ tsp salt
- ½ cup chocolate chips or chopped candy (optional, $0.75)
Method
- Preheat oven to 350°F (175°C). Line an 8×8 pan with parchment.
- Melt butter over low heat. Remove from heat.
- Stir in sugar and let cool slightly.
- Add eggs one at a time, mixing well.
- Stir in cocoa powder, salt, and vanilla.
- Fold in flour gently until just combined.
- Add chocolate chips if using.
- Spread batter evenly in pan.
- Bake 22–25 minutes until edges are set and centre is soft.
- Cool completely before cutting.
If you’d like, next we can:
- Adapt this into a slow-cooker brownie version
- Write a Halloween baking week meal plan
- Or build a full October comfort baking collection using the same locked persona
Just tell me where you’d like to head next.